Tutorial: Installing Unity
Prior to proceeding with Unity tutorials, ensure the application is installed on your computer. This guide will show how to install the software and how to acquire packages using the the Asset Store.
Downloading & Installation
In order to download the Unity Software, you must first choose one of three product options. Although Unity is a free software, there are still monthly subscription services that exist. You can choose between Personal, Plus, and Pro on the Unity Store. Beginners are recommended to use personal since it is free. Once personal is selected, you will be brought to a download screen for Unity Hub. Choose the download option for your operating system.
Once Unity Hub is downloaded, run the installer. Read over and accept the License Agreement, then click I agree. Choose the installation folder and click Install.
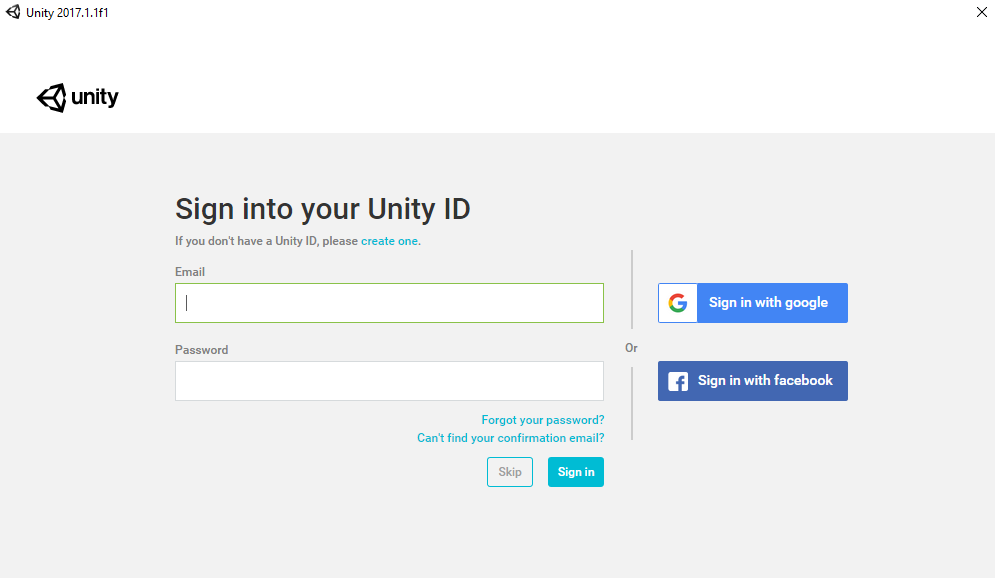
During the installation process, you'll be asked to create a Unity ID. In addition to being required to use the Editor, your Unity ID is your key to a wealth of Unity services including the ability to upload your projects to the cloud, access community features on Connect.
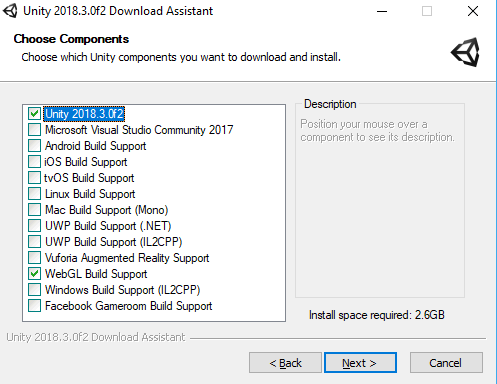
Once you have installed the Unity Hub, you can download and install the latest version of unity (Unity 2020.3.30f1 (LTS)) using the Install Editor button from the Installs section. Also, you need to install additional modules such as Microsoft Visual Studio Community 2019 (will be used to develop and edit C sharp scripts in unity), Mac Build Support for Mac users and Windows Build Support for Windows users respectively (build supports are required to build your game for respective platforms). You can add any other modules you wish as well.
Launching Unity
To launch Unity, either locate the icon on the desktop, or open it from the Windows Menu. The splash screen should appear indicating startup. You will be prompted to sign in using your Unity ID. If you do not have one, you may create one here or login with an existing account. You also have the option to skip if you'd like, however you will not be able to collaborate or install assets later (you can sign in whenever, though).
To create a new project, click New at the top right of the projects window. Specify a name, save location, and whether it is a 3D or 2D project. Once this is done click Create Project. Your project should be setting up necessary libraries and when complete the editor will launch.

